Today I decided to dry my flowers by experimenting on various ways as my method of leaving the flowers in silica gel for a certain amount of days takes a bit too long and makes the whole process of making jewelry and art longer. I just wanted to experiment today so that I can truly see what method is better, though I will be using the flowers if they are successful.
Before I begin I would just like to correct what I said in my last post, that the small flowers wilted because I left them too long. I realized that the flowers did not wilt because they were in the gel too long but rather they were in the gel for a short amount of time that the moisture was not completely removed from the flower. If the moisture from the flower was completely absorbed by the gel, the flower would not wilt. Therefore, two days in the gel was not enough for the gel to absorb all the moisture in the small flower. From that I now learned that the longer in the gel the better. I plan to apply this newfound realization into my future experiments.
Now the first way I decided to coat the flower was through microwaving it with the silica gel. I did this in the beginning of this project but found that microwaving the flower caused it to turn crisp and slightly burned. So I decided to now do that method again but to lessen the time in the microwave so that the flower would dry but not burn.
Before microwaving I prepared my flower for the first two methods:
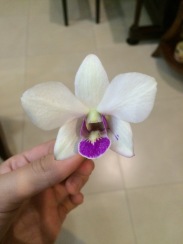
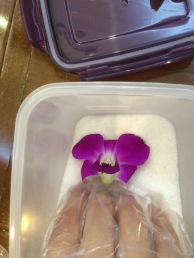
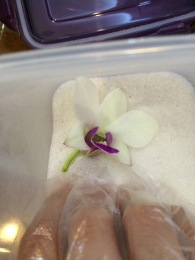
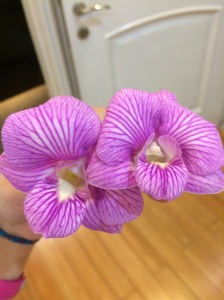 These are the flowers I will be using for the first two methods.
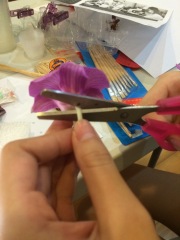
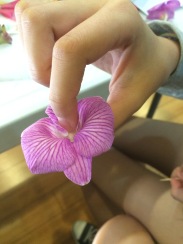
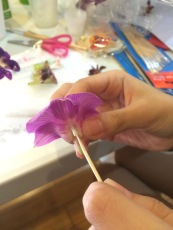
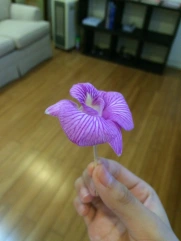
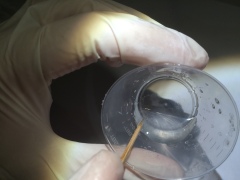
I first cut the stem of the flower while leaving about an inch of the stem. I then pressed my finger on the top of the flower as I put a toothpick through the remaining stem. The toothpick will help me hold the flower during the experiment.
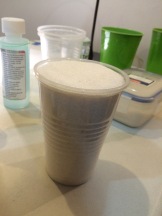
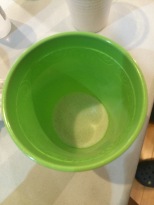
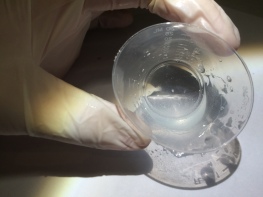
Next I used a cup full of silica gel and poured about two inches worth of gel into another cup. I then put the flower on the silica gel. After, I poured the remaining silica gel over the flower.
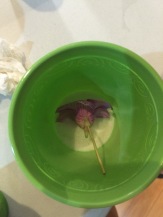
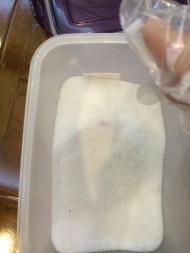
 I put the flower in the microwave for 20 seconds on high power and this was the result. As you can see the flower wilted, meaning I didn’t put the flower in the microwave for a long enough time. I tried it again doing the same method, except I put it in for 45 seconds. The flower wilted once more as 45 seconds was too short for the flower’s moisture to be completely absorbed. Due to the fact that this requires trial and error, I decided to not use this method as I wasted two flowers already and I do not want to waste a lot flowers just for this experiment when I could be doing other methods.
Now the next method involves coating fresh flowers with silica gel. I did this in my last experiment but the flower ended up wilting.
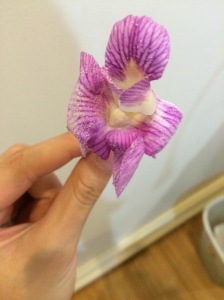
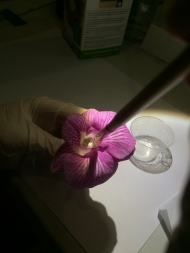
 This is how the fresh flower from the last experiment looks like now. As you can see it turned brown as it wilted.
Based on this result I decided to try it again, except this time I will coat multiple layers, hopefully sealing the flower completely so that it would prevent it from wilting.
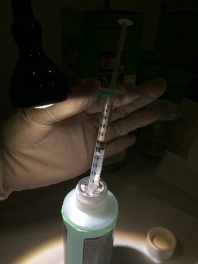
 First I measured 0.5ml of the resin, and put it in the cup. I measured the same amount of 0.5ml of the hardener and put it in the same cup.
Using a toothpick I mixed the resin and hardener for about two minutes (as said in the instructions of the resin). After the two minutes I followed the instructions and let the resin mixture stand for five minutes to get rid of excess bubbles. I then painted the flower with the first layer of resin. I waited 8 hours for it to dry and then painted a second layer of resin. I plan to paint a third layer of resin to fully seal the flower.
My third method was my usual method of putting the flowers in silica gel and leaving it for a certain amount of time. 
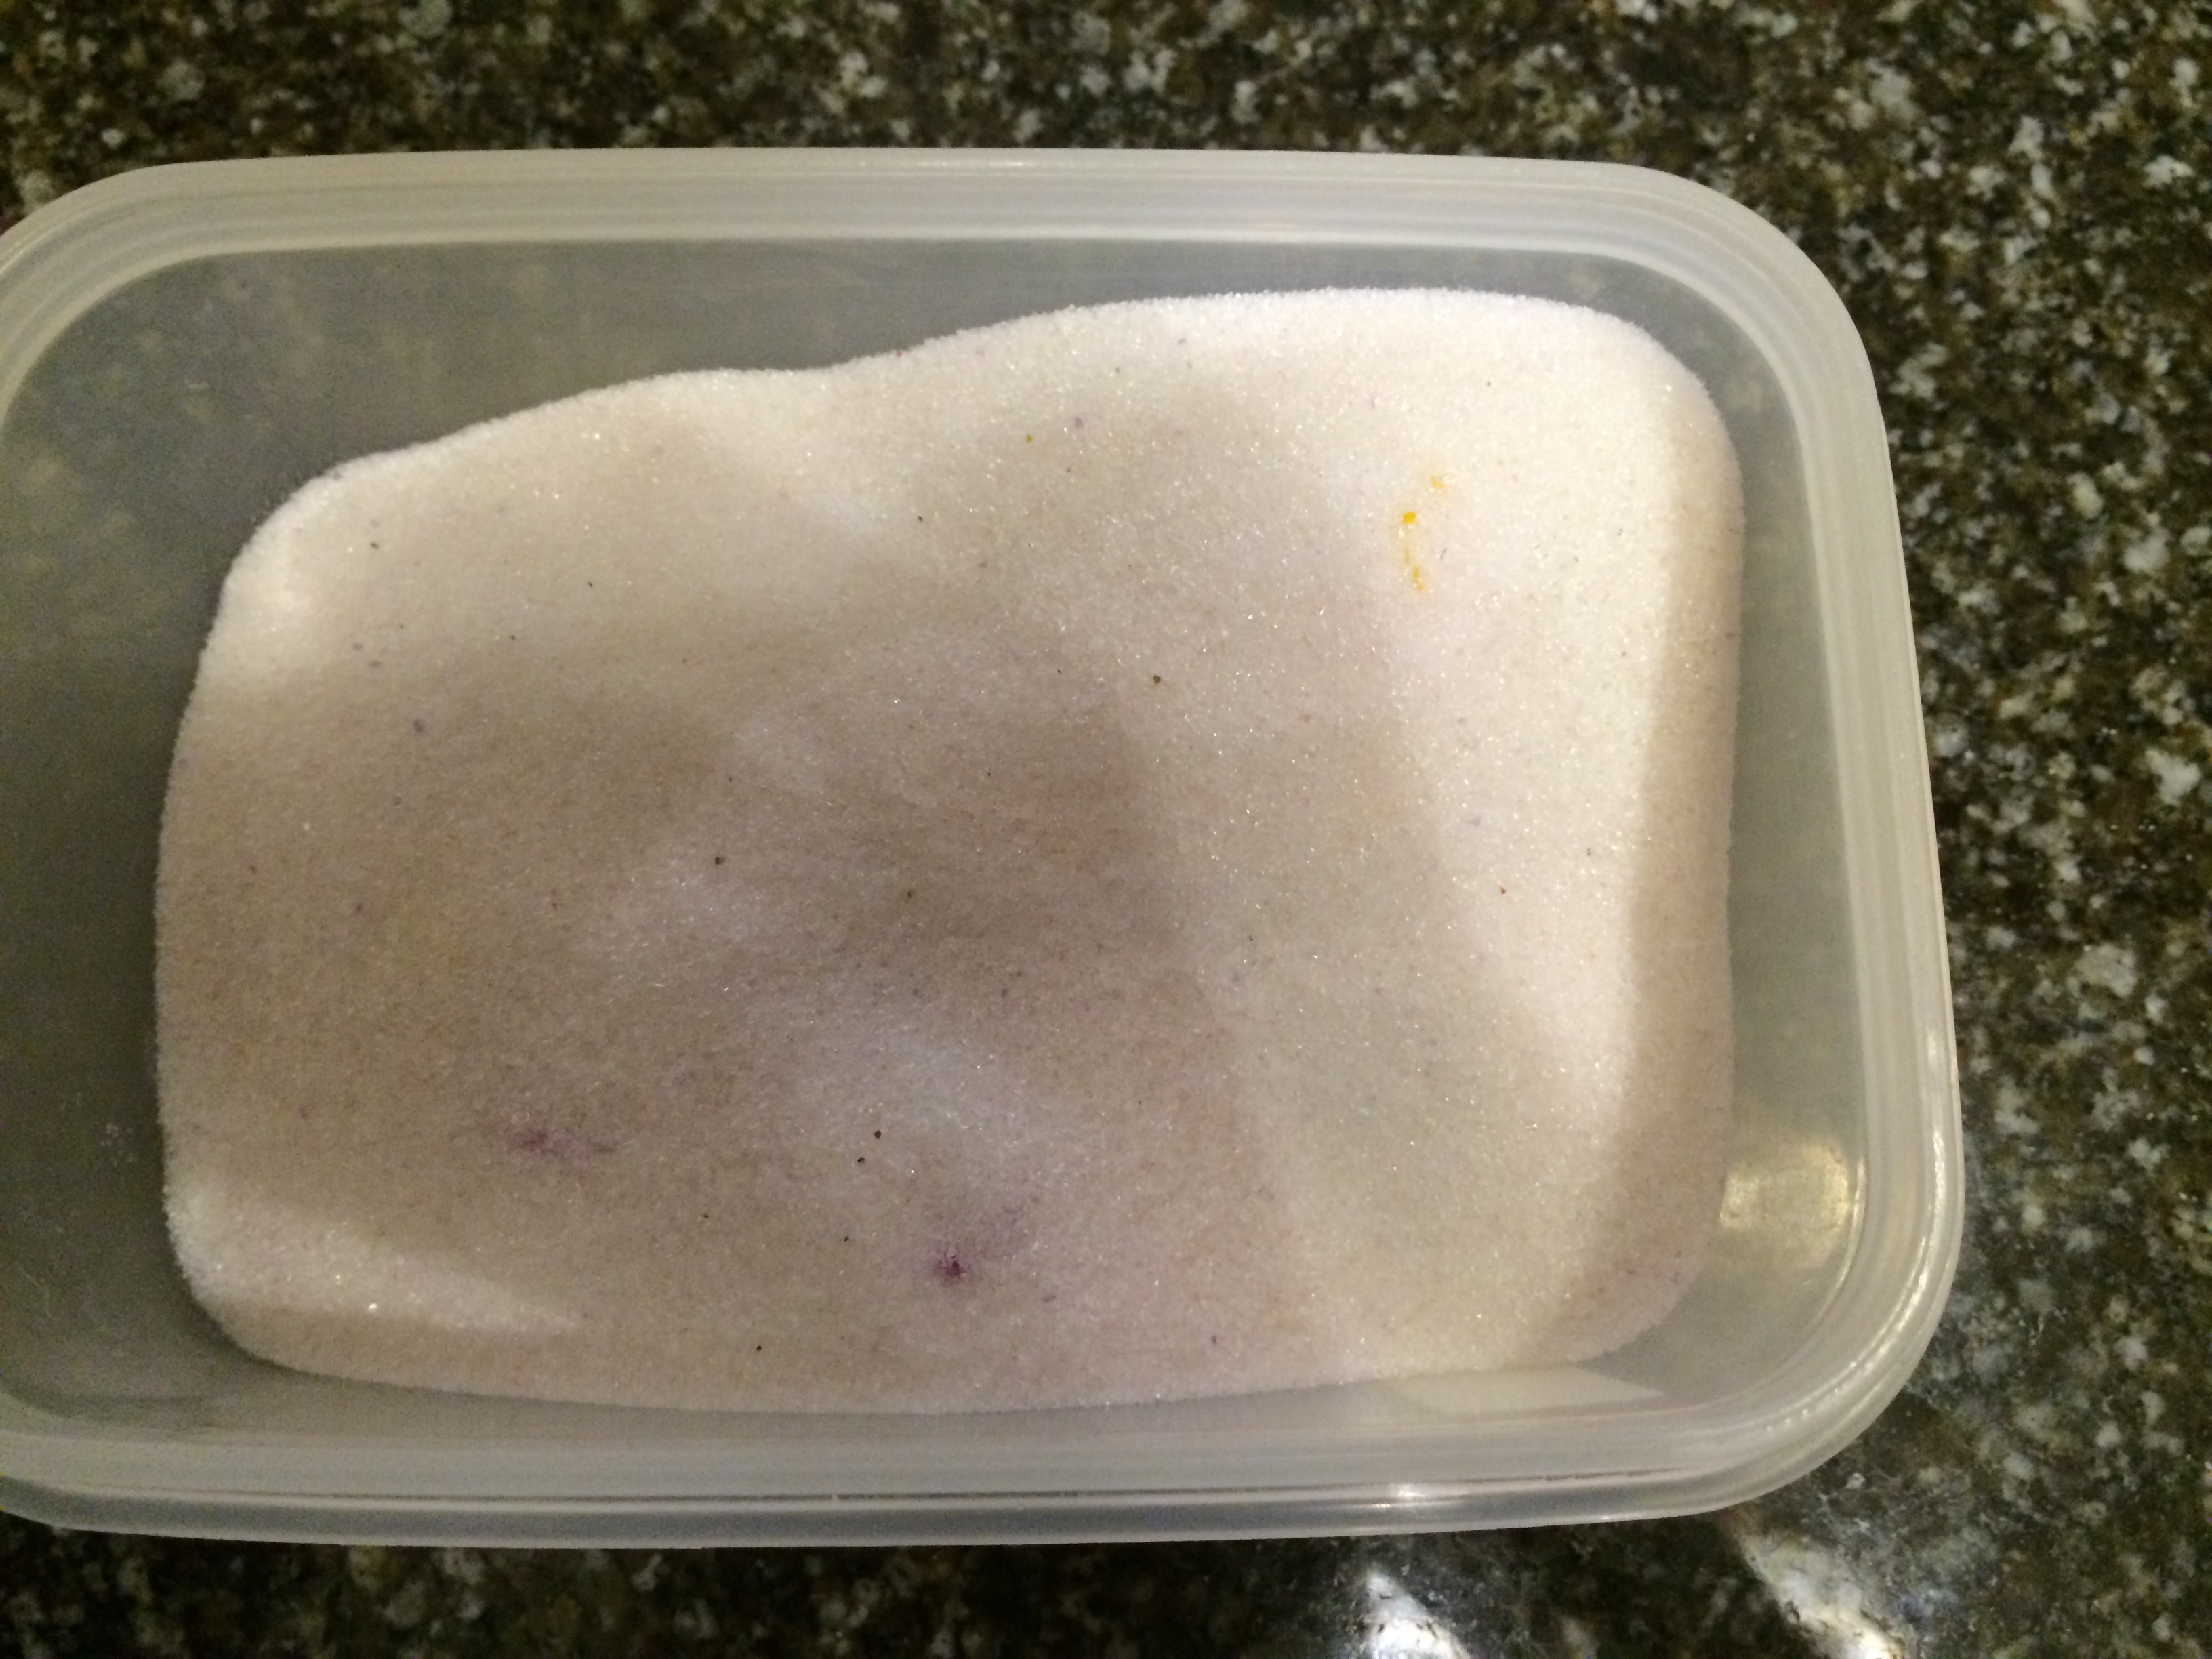
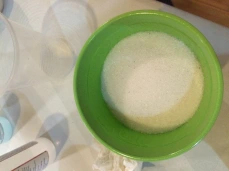
 I used these two orchids and did the usual method of burying it in silica gel and sealing it with the cover of the container. I plan to leave this in for five days.
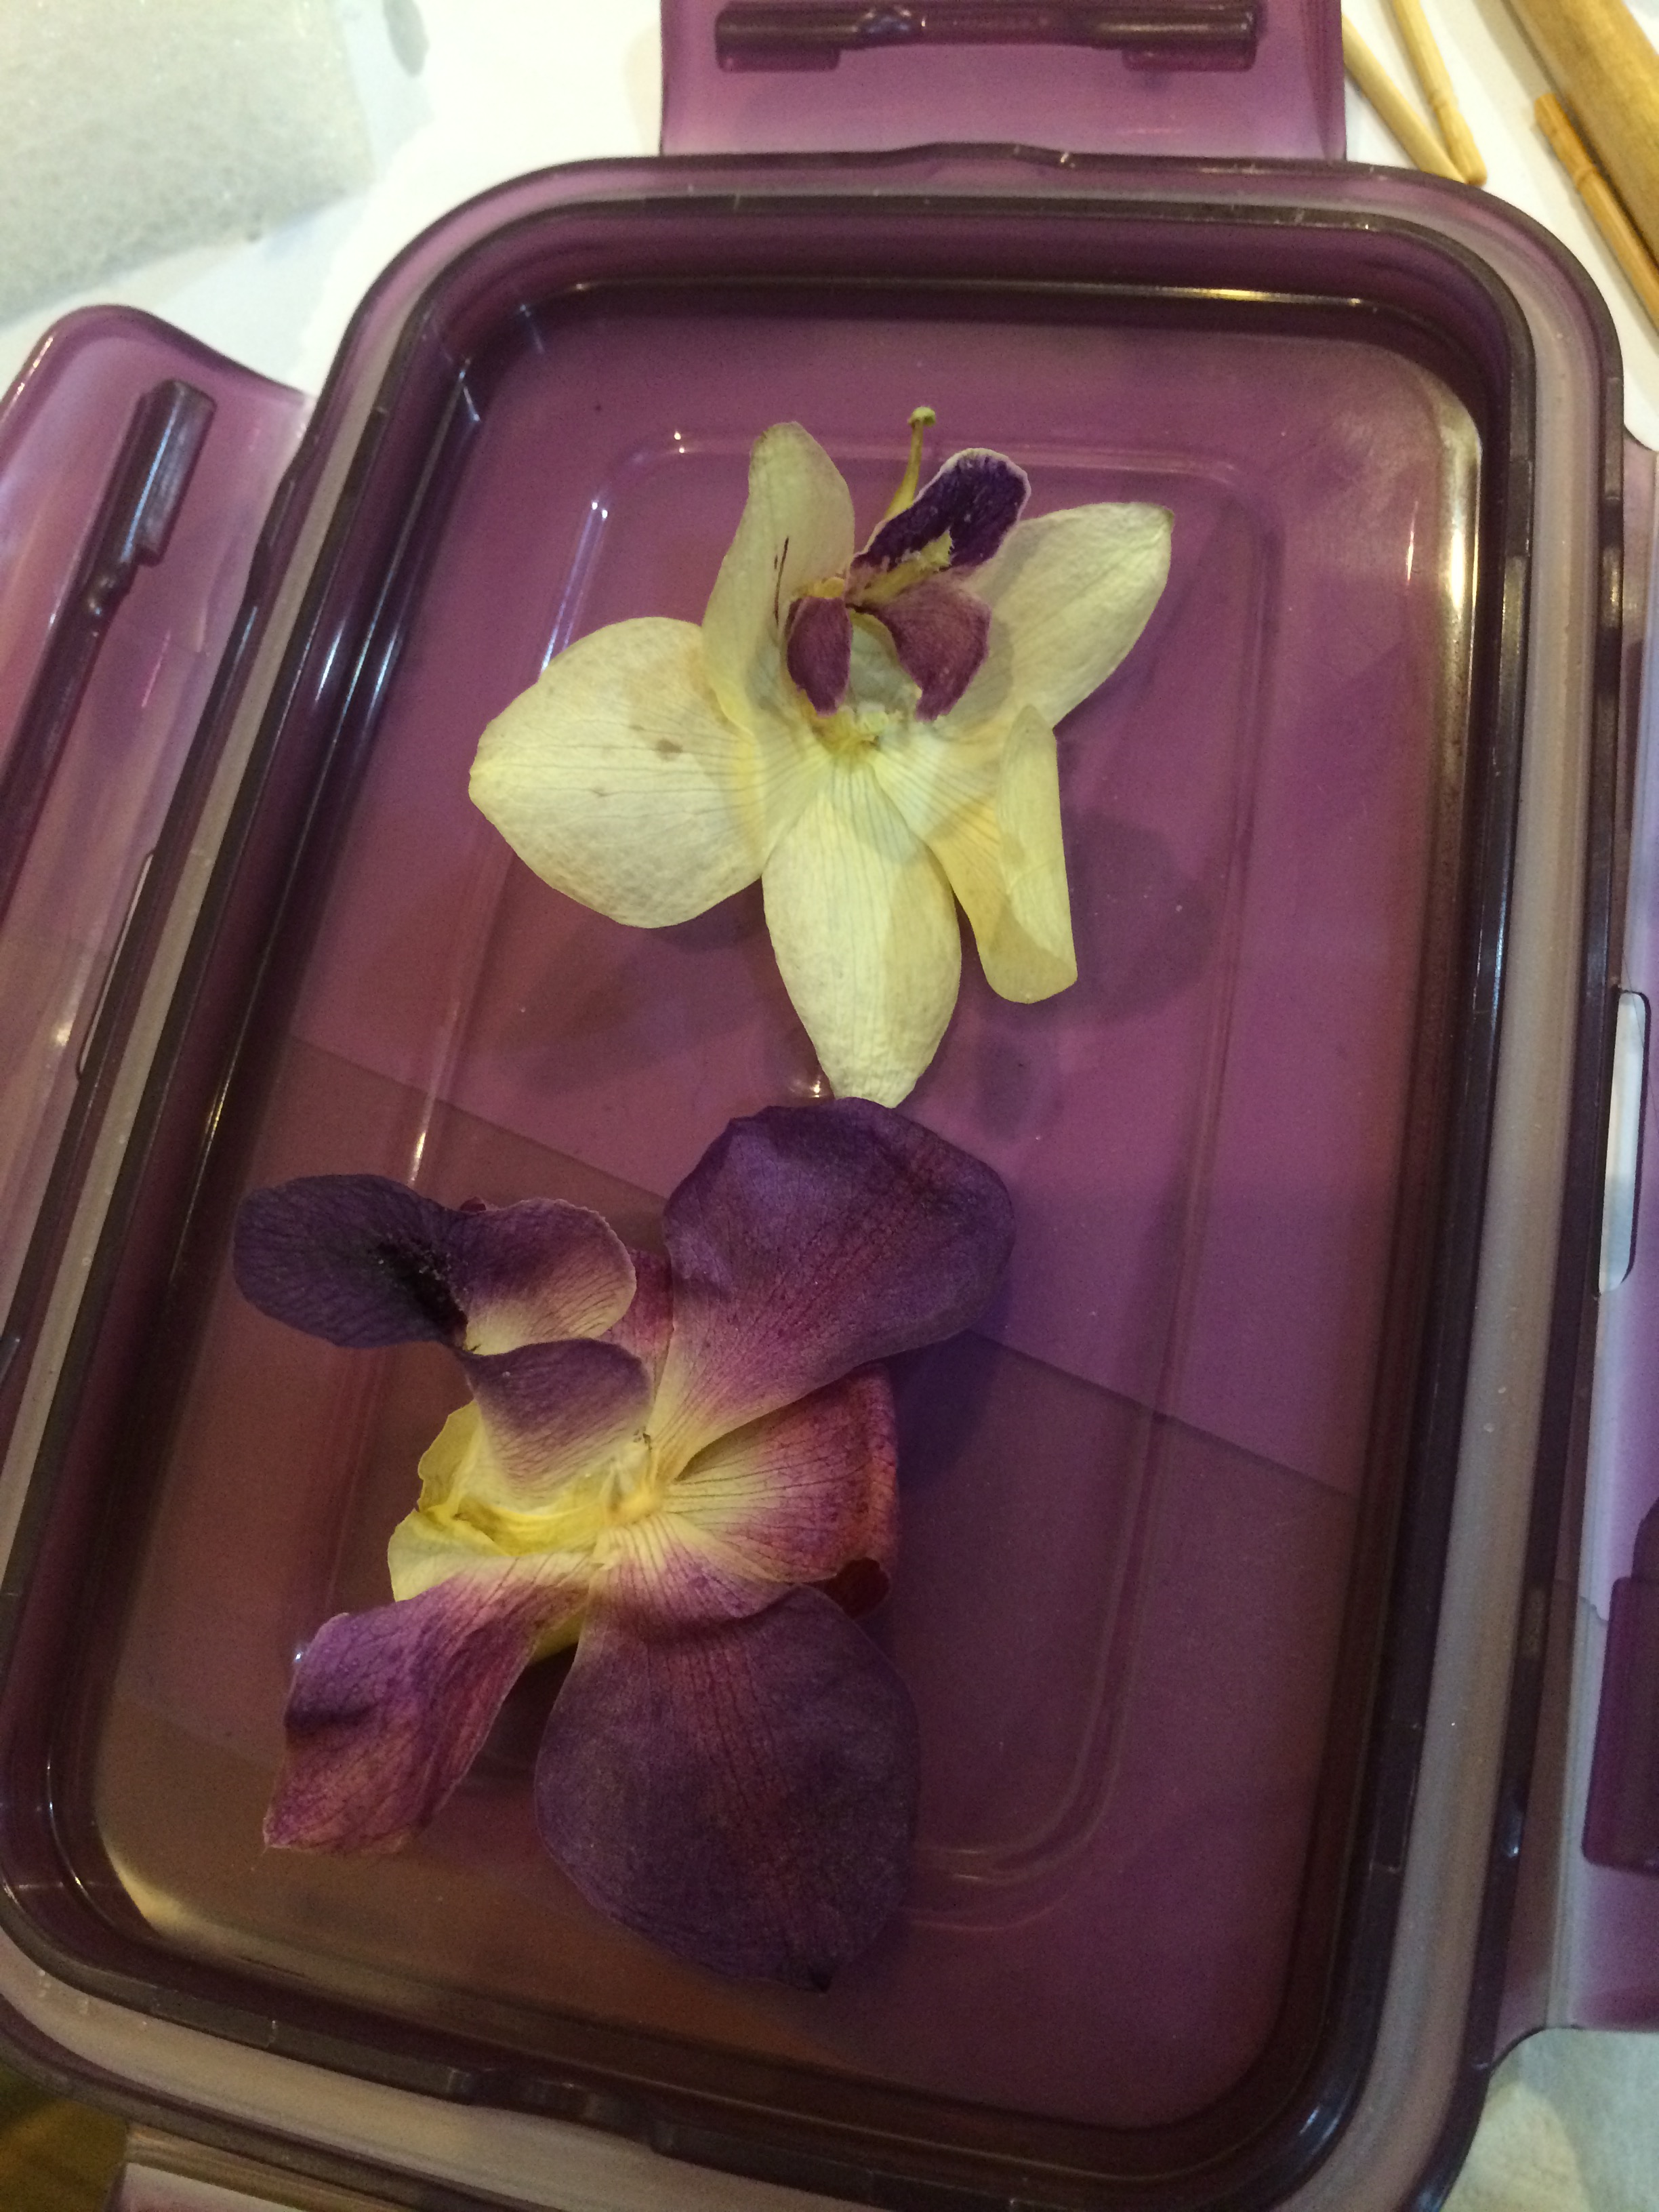
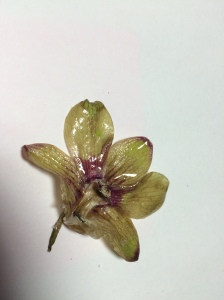
 This is how both the flowers looked like after being dried for about a week.

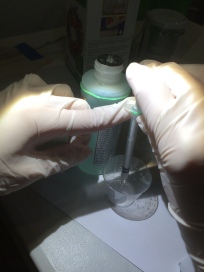
 I then measured 0.5ml of both the resin and the hardener so that I would be able to create a mixture with equal amounts of both chemicals. I mixed it with a toothpick for about 2 minutes and let it rest for about 5 minutes.
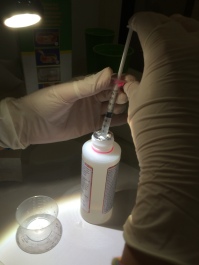
 Once I had the resin mixture I used a paintbrush to coat both flowers. I plan to leave it to dry overnight before applying a second coat.